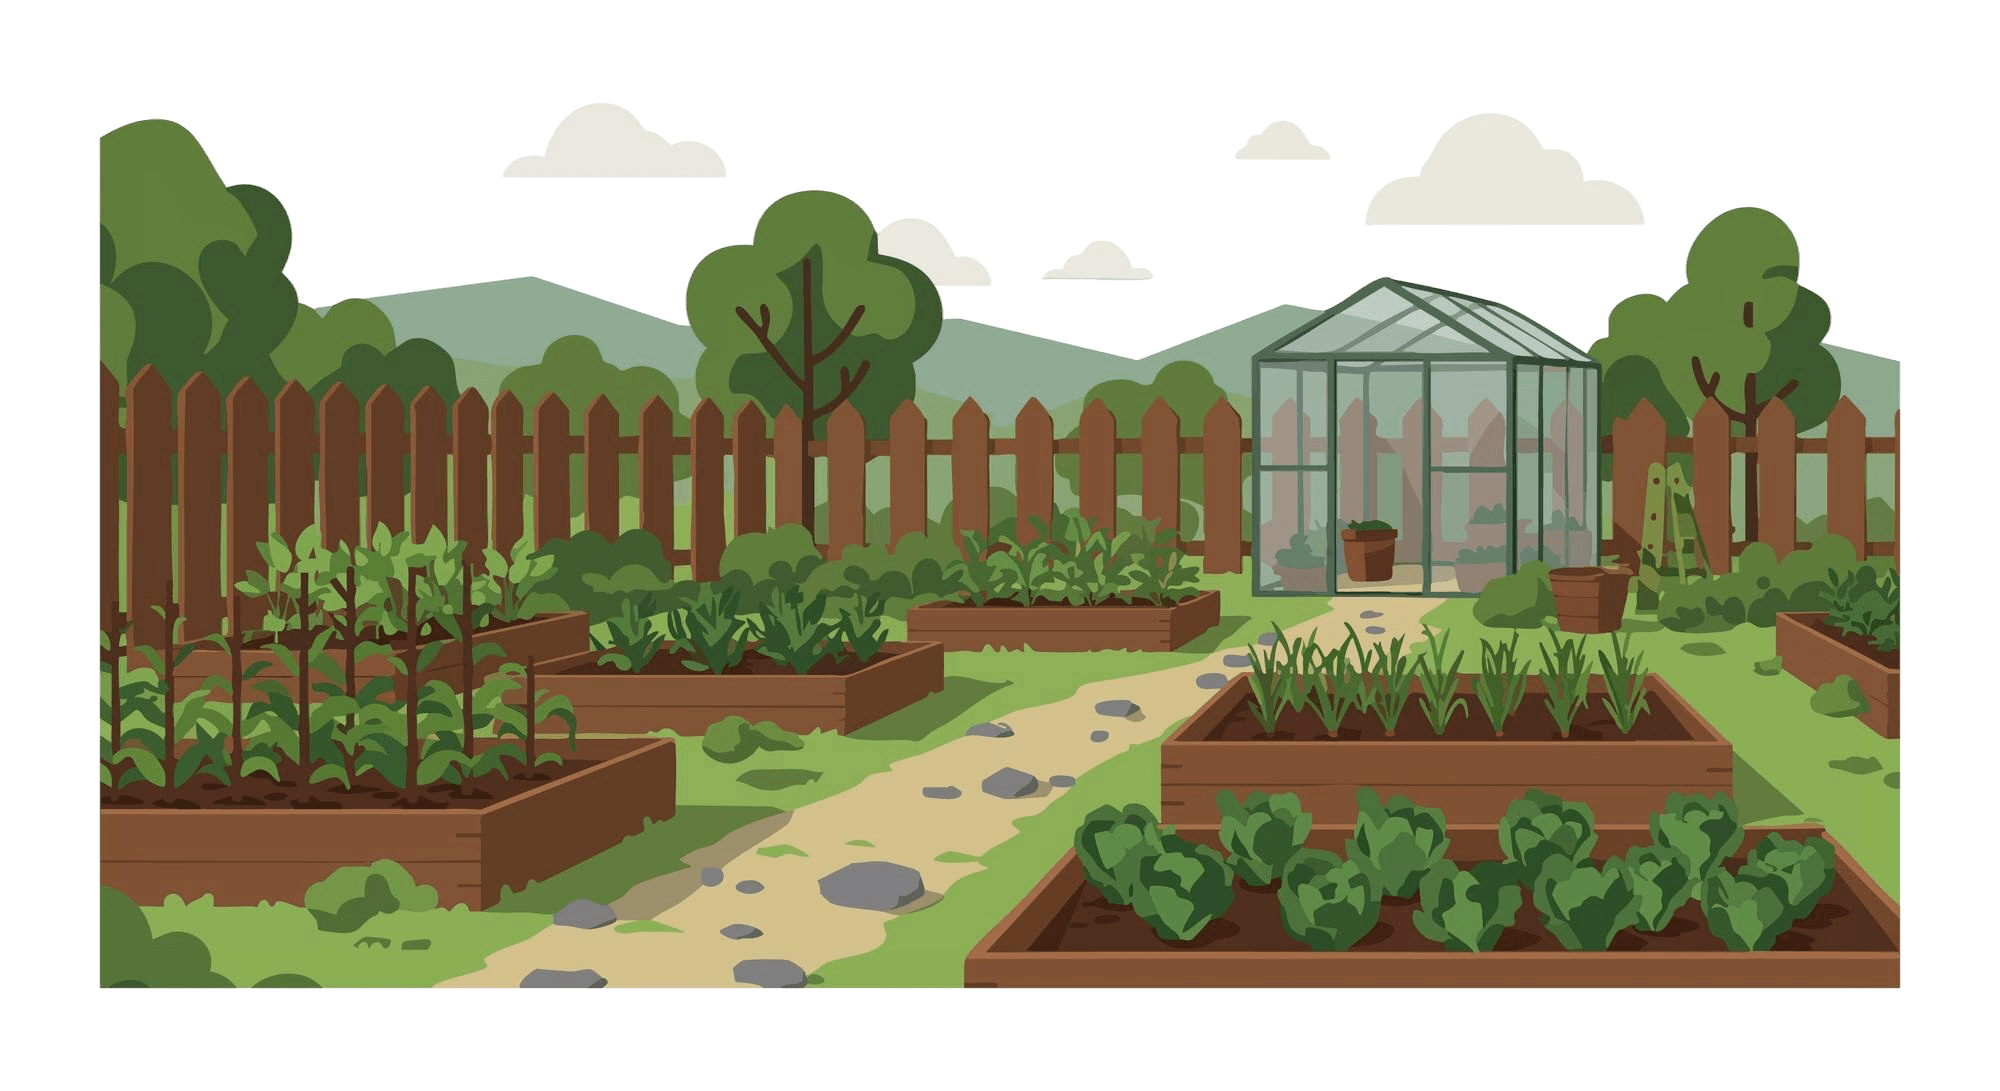

Beginner's Guide to Designing a Raised Bed Garden Plan
Introduction
Looking to transform your gardening experience? Consider a raised bed vegetable garden! Raised bed gardening offers a world of possibilities, whether you're a seasoned gardener or just starting. This beginner's guide will provide you with all the information needed to plan, build, and maintain a thriving raised bed garden. Let's get started!
Understanding Raised Bed Gardening

A raised garden bed is essentially a large container, typically made with treated wood, that sits on top of the ground. The beauty lies in the complete control you have over the growing environment. Instead of battling existing soil conditions, you fill the raised bed with a customized soil blend ideal for your chosen plants.
Before heading to the store, use a soil calculator to determine the volume of soil needed for your desired bed size. This will ensure you purchase enough to fill it adequately. With a bit of planning, your raised bed garden will be teeming with life in no time.
Benefits of Raised Bed Gardens
Why choose a raised bed garden? The benefits are abundant. Firstly, the raised nature of the beds provides superior drainage, preventing waterlogging and promoting healthy root development. This is particularly beneficial in areas with heavy clay soil.
Moreover, the enclosed environment allows for targeted soil amendments. You can easily add compost and other organic matter to create a nutrient-rich environment tailored to your plants' needs.
And let's not forget the ease of access! Raised beds reduce strain on your back and knees, making gardening a more enjoyable experience for all ages and abilities.
Choosing the Right Location for Your Garden
Selecting the right location for your raised bed garden is crucial for its success. Most vegetables thrive in full sun, meaning they require at least six hours of direct sunlight per day. Choose a sunny spot in your yard, observe the sunlight patterns, and ensure enough light reaches your plants throughout the day.
Consider potential pests when choosing your location. If critters are a concern, you might need to install protective measures. A trip to your local hardware store for hardware cloth will come in handy, as it can be used to create a barrier against unwanted visitors.
Lastly, think about accessibility and convenience. Opt for a location that is easy to reach with a garden hose or watering can and is close to a water source for easy irrigation.
Planning Your Raised Bed Garden

Before building, envision your garden layout. A well-planned layout ensures optimal plant growth and maximizes your yield. Consider the space available, sunlight exposure, and what you wish to cultivate.
Do you dream of an abundant vegetable garden, a space-saving square foot gardening setup, or a fragrant kitchen garden overflowing with herbs? Sketch out your ideas on paper to determine the ideal size and configuration for your raised beds.
Determining the Size and Shape
The size and shape of your raised beds are largely determined by personal preference and available space. A width of 4 feet is generally recommended, allowing you to easily reach the center of the bed from both sides. The length is entirely customizable but ensure you can comfortably manage the space.
Consider the height, too. A depth of 12-18 inches is suitable for most vegetables, providing ample root space. However, you can opt for taller beds to minimize bending if desired.
If you prefer a ready-made solution, raised garden bed kits come in various sizes and materials. These kits offer a convenient and quick way to get started.
Selecting Materials for Your Raised Beds
The most common material for raised beds is wood, due to its affordability, durability, and natural aesthetic. Cedar and redwood are popular choices due to their natural resistance to rot and insects. However, treated lumber is a more budget-friendly option.
When using treated lumber, opt for lumber treated with copper azole (CA) rather than older treatments containing chromated copper arsenate (CCA). While CCA-treated wood is deemed safe for most applications, it's best to err on the side of caution when growing edibles.
If longevity is a priority, consider alternative materials like composite lumber or concrete blocks. These options require less maintenance and offer excellent durability.
Getting Started with Your Raised Bed
With your materials gathered, it's time to prepare for construction. Before assembling your bed, drilling pilot holes into the lumber will make attaching the pieces together much easier, preventing splitting and ensuring a secure structure.
Additionally, consider incorporating an irrigation system for effortless watering. A simple drip irrigation system or soaker hoses can significantly reduce your watering workload. Lastly, think about adding a weed barrier to the bottom of your bed. This will prevent pesky weeds from infiltrating the rich soil you've carefully chosen.
Essential Tools and Resources
Before diving into construction, gather the essential tools for the job. A sturdy shovel is crucial for leveling the ground and moving soil. A wheelbarrow will make light work of transporting soil and amendments. A measuring tape and level are essential for ensuring your bed is built to the correct dimensions and is level.
Don't forget safety equipment! Work gloves will protect your hands, and safety glasses will shield your eyes from flying debris. Having these tools handy will streamline the construction process and make it that much more enjoyable.
Revisiting your garden layout will be helpful during this stage. It will serve as a roadmap throughout the construction and planting process, ensuring you create a garden that meets your needs and desires.
Preparing the Site for Your Raised Beds
Begin by clearing the area where your raised bed will be located. Remove any existing vegetation, rocks, or debris. Covering the ground with a layer of cardboard can help suppress weeds and create a clean slate for your bed.
Next, level the ground to ensure your raised bed sits evenly. If the ground is uneven, use the shovel to remove excess soil or fill in low spots. A level base prevents the bed from warping or becoming unstable over time.
Lastly, although optional, consider adding a layer of mulch around your raised bed. This will help suppress weeds, retain moisture, and give your garden a finished look.
Step-by-step Guide to Building Your Raised Bed Garden
Building a DIY raised bed is remarkably achievable and can be a satisfying project in itself! This step-by-step guide will walk you through the process, providing all the information you need to construct a sturdy and long-lasting raised bed.
Remember to refer back to your chosen dimensions and materials as you proceed. Let's roll up our sleeves and bring your gardening vision to life!
Step 1: Constructing the Frame
Start by cutting your lumber to the desired lengths. If you're using pre-cut lumber from a kit, you can skip this step. Following the measurements on your garden layout, create the four sides of your raised bed frame.
Next, connect the corners of the frame using screws or nails. Predrilling pilot holes will help prevent splitting, especially when working with hardwoods. For added stability, consider adding corner posts or a mid-span support to prevent bowing.
Finally, if you're using hardware cloth for pest control, now is the time to secure it to the bottom of the frame with staples or nails.
Material Quantity Dimensions Notes Lumber (e.g. cedar, treated) Depends on bed size 2" x 6" or 2" x 8" Choose rot-resistant wood for longevity Screws or Nails Galvanized or exterior grade Hardware cloth (optional) To deter burrowing pests
Step 2: Adding Soil and Compost
Once the frame is complete, it's time for the most exciting part---filling it with life-giving soil! Begin by spreading a layer of cardboard or weed barrier fabric on the bottom of the bed to further deter weeds.
Add a few inches of compost to the base. Compost is gardening gold, providing essential nutrients for healthy plant growth. Using a soil calculator in the initial planning stages helps determine how much you will need.
Now, fill the remainder of the raised bed with a high-quality garden soil blend. Aim for a depth of at least 12 inches, leaving a couple of inches of space from the top to allow for mulching or other amendments.
Plant Selection and Layout
With your raised bed complete, it's time to choose the stars of the show - your plants! Deciding what to plant depends on several factors, including your local climate, personal preferences, and the amount of sunlight your garden receives.
Do you envision an array of vibrant vegetables, fragrant herbs, or a mix of both? Now's the time to consult your garden layout, ensuring the placement considers each plant's specific needs, such as spacing requirements and sunlight exposure. With careful planning, your raised bed is ready for planting!
Deciding What to Plant
Choosing your plants is an exciting step, but it can also feel overwhelming with the vast array of options. Think about your culinary preferences. Does your heart belong to a vibrant vegetable garden overflowing with juicy tomatoes, crisp cucumbers, and colorful peppers?
Or do you crave fresh herbs like basil, rosemary, and thyme to elevate your cooking? Perhaps you envision a combination of both, creating a feast for the senses and the palate.
Easy-to-grow vegetables like radishes, lettuce, and spinach are fantastic for beginners. Remember to consider your local climate and choose plants well-suited for your region.
Designing Your Garden Layout
Now that you've selected your plants, it's time to determine their arrangement within the raised bed. Your initial garden layout serves as a foundation, and now you can refine it based on each plant's specific needs.
Consider the concept of companion planting, where certain plants thrive when grown in close proximity to each other. For instance, basil is known to deter pests that can harm tomatoes, making them excellent companions.
Additionally, factoring in the growing season of each plant ensures that your garden remains productive throughout the year. By strategically arranging your plants, you maximize space, optimize growth, and create a visually appealing design.
Maintaining Your Raised Bed Garden
Once your garden is planted, consistent maintenance is crucial for healthy growth and bountiful harvests. Regular watering is paramount, ensuring the soil stays consistently moist but not waterlogged.
Additionally, be on the lookout for pests and diseases that can affect your plants. Employing organic solutions like neem oil or insecticidal soap helps control pests while remaining environmentally friendly.
Watering Techniques for Optimal Growth
Watering is essential for any garden, but raised beds often require more frequent irrigation due to their excellent drainage and exposure to the elements. The key is to maintain consistent soil moisture, preventing it from drying out completely.
Consider installing a drip irrigation system or soaker hoses for efficient and targeted watering. These methods deliver water directly to the root zone, minimizing evaporation and reducing the risk of fungal diseases often associated with overhead watering.
Regularly check the soil moisture by feeling it with your fingers. If it feels dry to the touch, it's time to water. Rainfall can contribute to your garden's water needs, but relying solely on rainfall, especially during dry spells, might not be sufficient. A good rule of thumb is to water deeply but less frequently, encouraging deep root growth.
Pest Control and Organic Solutions
While raised beds offer some protection from pests, it's not uncommon to encounter critters seeking a tasty snack. Implementing preventive measures like bird netting or lightweight row covers can deter larger pests from accessing your valuable crops.
For smaller insects like aphids or spider mites, try using a strong spray of water from the hose to dislodge them. If infestations persist, consider organic solutions like insecticidal soap or neem oil which are effective pest control methods that won't harm beneficial insects or the environment.
Regularly inspect your plants for signs of pests or disease, addressing any issues promptly to prevent them from spreading. By adopting a proactive approach and utilizing organic solutions, you can maintain a healthy and thriving raised bed garden.
Conclusion
In conclusion, designing a raised bed garden offers numerous benefits and allows for optimal plant growth. By carefully planning the size, shape, and materials for your raised beds, you can create a thriving garden space. Remember to select the right plants and layout, maintain proper watering techniques, and implement pest control measures for a successful garden. With dedication and the right tools, you can enjoy the beauty and bounty of a well-designed raised bed garden. Happy gardening!